Here’s a quick update of a project I was able to do pretty quickly- one of the BORP players was having trouble reaching her joystick properly to continue playing at a high level, but there weren’t any off-the-shelf products that would allow that to happen, and most of the customizable systems that are available for wheelchairs cost hundreds of dollars, and would probably require a little custom fabrication to even work with the model of chair that she uses.
Based on previous experience, I knew that it might be hard to fine-tune exactly where to mount the thing, and it’s hard to predict if where I put it now is going to be where she’ll need it later. I thought that a locking ball-pivot would be a good way to allow the thing to move around and pivot to get just the right angle, and by using two of these joints I’d be able to have some translation front-to-back and side-to-side.
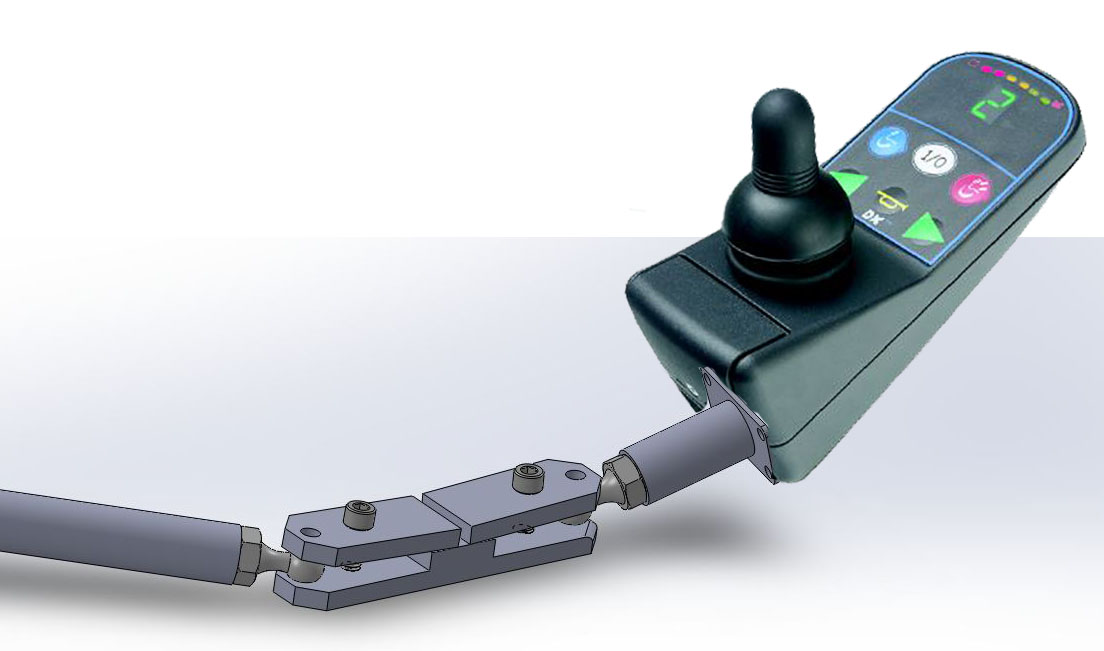
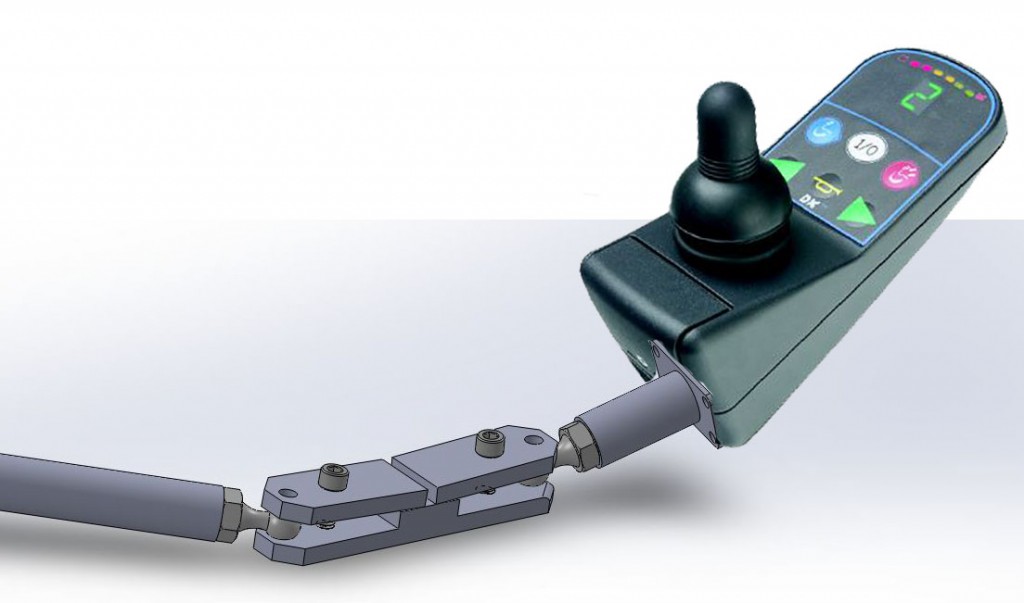
I recently got a real 3D modeling program on my home PC, and so I went to work finding weldable ball pieces on McMaster Carr and whipped up a concept. Here’s what I had in mind:
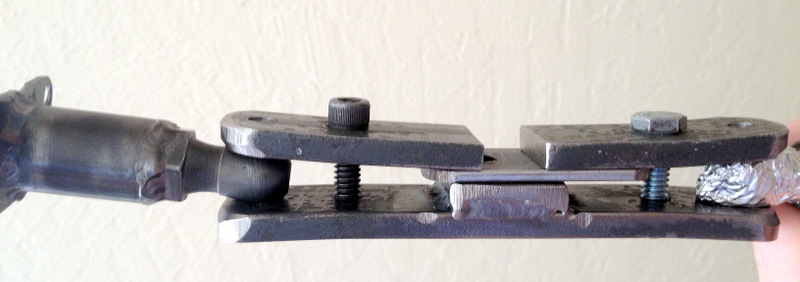
I was able to cheaply harvest a ball on a post out of a quick-release ball joint linkage (it could have been cheaper and better if I was good on a lathe) and welded it up at Techshop. Here’s what that looked like:
You can see from the bending 1/4″ thick steel that the trial piece was getting clamped hard, but each ball joint was still pivoting about the axis normal to the clamping face. I tried to use some aluminum to increase friction on the ball on the right, but that didn’t work out very well. What I eventually did was to take a countersink bit and bevel the holes to provide a wider grip and more surface area for the friction. That got everything locked down well enough that it felt like it wasn’t going anywhere.
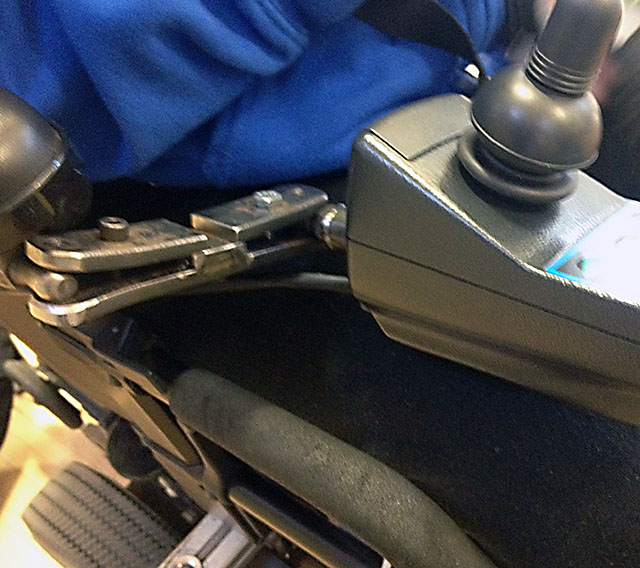
Today at practice I got to install it, and the new mount seemed to work out pretty well.
I wrapped some foam and black tape around it, and it seems like it’s good to go.


